DIY Kombucha & Fermented Foods for Beginners
Homemade kombucha: it’s easy & cheap
There’s a saying that if you want high quality, you can only choose two of the three: fast, easy & cheap. Homemade ferments definitely take time, but they are actually fabulously easy and very inexpensive! With store bought kombuchas costing north of $4, the homemade version for less than 50 cents makes your daily drink totally affordable.
:nbsp;
I started making my own about a year ago with a SCOBY (Symbiotic Culture of Bacteria & Yeast) or “mother” that I got from Gracy. Because these probiotic (ie healthy bacteria) cultures grow continuously, you can break them off to share. They’re available to buy online, if you don’t know anyone who’s already brewing! After you have that, it’s basically just making a big batch of sweet tea, adding the mother, and covering for a week. You can add flavors with fruit, juices, or herbs during a “second ferment” – just remove the mother and add in your flavor, leaving it for another 1-2 days.
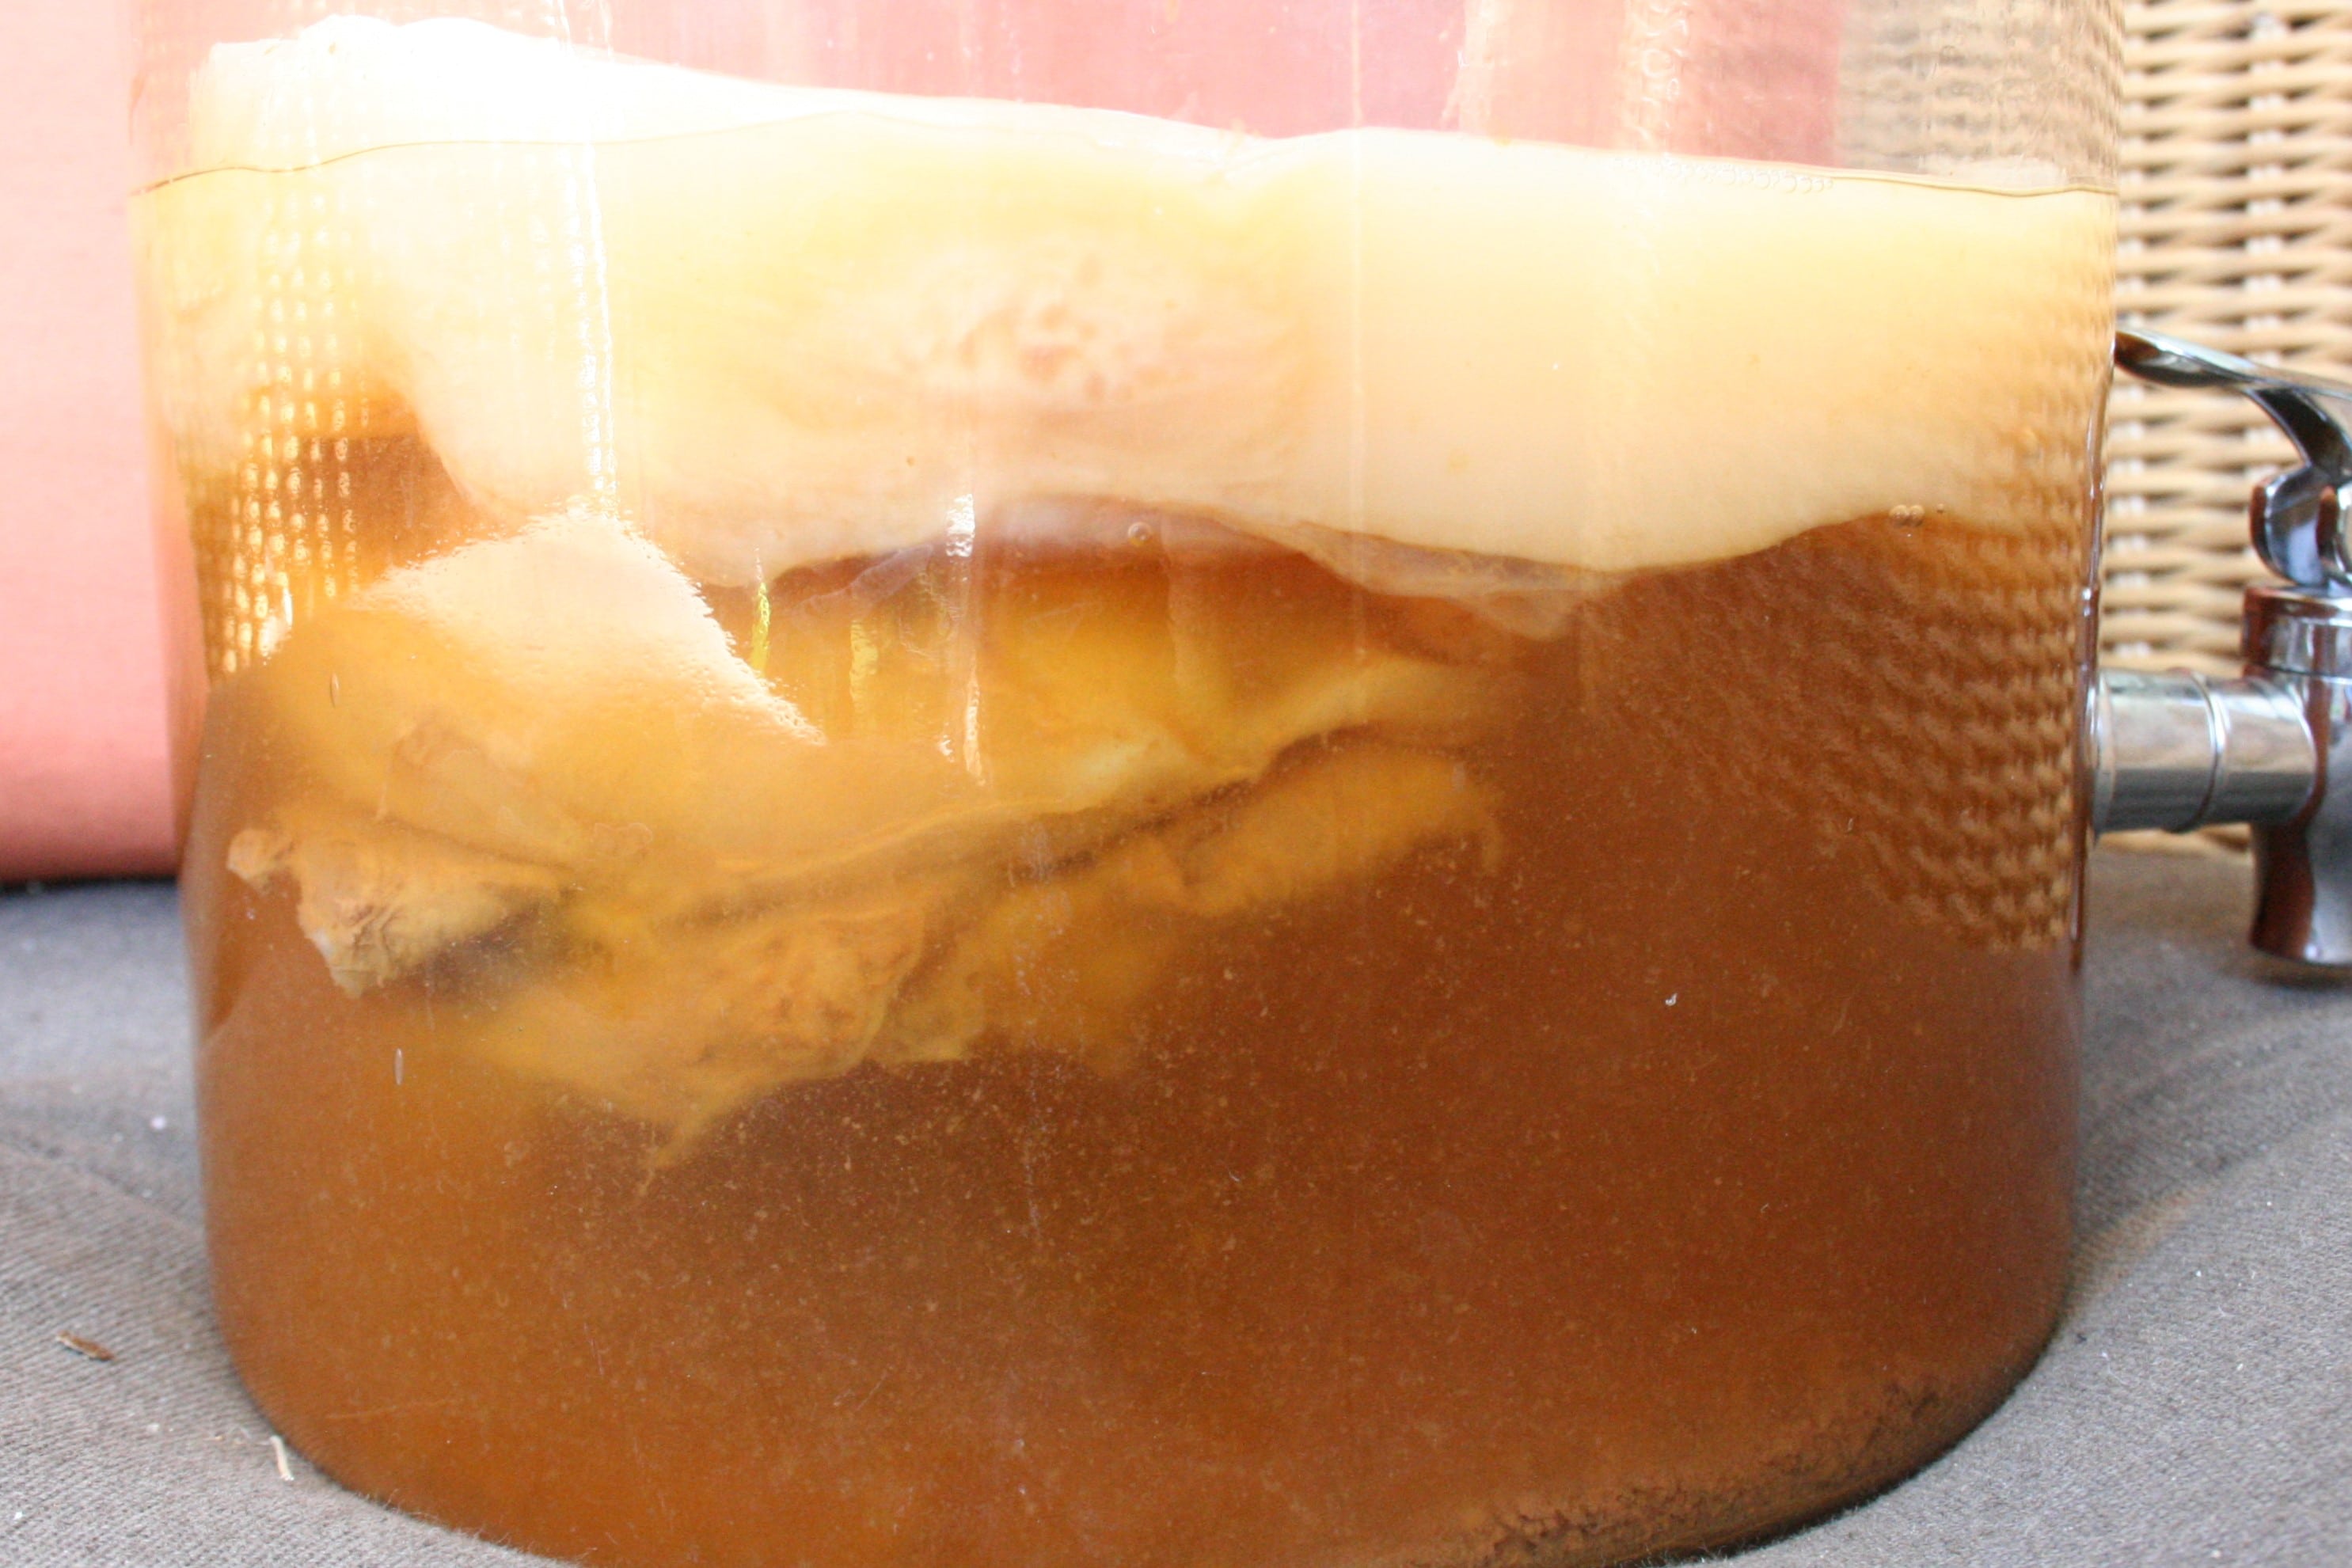
The mother SCOBY will grow to the size and shape of whatever jar you put it in – this one is huge!
Step by step
- Make the sugar solution: boil 3 quarts of water, dissolve 1 cup of sugar (regular cane works best), stirring til it’s dissolved
- Add tea: 8-10 black tea bags
- Cool to room temperature (a few hours), remove tea bags, and pour into a glass container (1 gallon works well for this amount)
- Place SCOBY in, a napkin or tea towel on top, and a rubber band to hold it on
- Taste after 1 week; if it’s still very sweet, let it go for another 3-5 days
- Remove the SCOBY, add flavor with fruit or herbs if desired and ferment another 1-2 days, or pour into bottles you can cap and refrigerate
You might be thinking: that’s a ton of sugar! And it is – but that’s food for the SCOBY, and as it ferments, will become acetic acid (giving that delightfully sour punch) and CO2, which is how it becomes fizzy. By the end of the process, you are likely having less than a teaspoon of sugar per 8oz serving. And the benefits of ferments far outweigh a tiny amount of sugar, including:
- An increase in nutrient bioavailability
- Food preservation
- Introduction of beneficial bacteria
- Improved digestion & immune function
Interested?
Here are some more in-depth resources if all of this is sounding fascinating to you – or if you need to save some bank from your store-bought kombucha habit!
- Great guide from Rachel at City Homesteads
- Full details on brewing & troubleshooting at The Kitchn
- An excerpt from Sandor Katz’s book The Art Of Fermentation (a fermenter’s bible!) on The Splendid Table
- FAQ’s and starter kits at Cultures For Health
From kefir to kraut
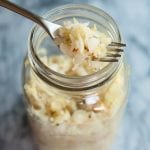
Another category of ferments create lactic acid instead of acetic acid, and includes foods like sauerkraut, kim chi, kefir, and fermented soy products such as miso and tempeh. Same health benefits, very different flavors! Again, it’s time consuming but very straightforward. Most recipes just require vegetables, spices, and salt (though kefir also requires a starter culture – you can use milk or water grains to make drinkable ferments that aren’t sour!).
Sauerkraut is the easiest to start with – here are the simplest, clearest guides I recommend:
-
- http://www.thekitchn.com/how-to-make-homemade-sauerkraut-in-a-mason-jar-193124
-

- http://eatdrinkpaleo.com.au/quick-sauerkraut-recipe-step-step-photos/
-

- http://www.theprairiehomestead.com/2015/02/how-to-make-sauerkraut.html
*Important notes*
- What most sauerkraut brands won’t tell you is that their product doesn’t contain live cultures. Some are made with vinegar, and were never actually fermented, and some are jarred or canned – that process kills the probiotics! A rule of thumb is that if the sauerkraut isn’t sold in the refrigerated section, it has no live cultures. To tell if it does contain live cultures, make sure the ingredients include only vegetables, seasonings, and salt (sometimes called brine). Farmhouse Cultures is one such brand you can find in many stores nationwide, and in the DC area you can find my favorites Hex & No 1 Sons in stores and at farmer’s markets. Or – make your own! Remember that heating and cooking also kills the probiotics, so always add it as a topping or condiment after you’ve roasted that pork or pan fried some brats.
- Prime your system by starting with having just a tablespoon or two a day. As with everything in health, slow and consistent beats abrupt and over-ambitious.
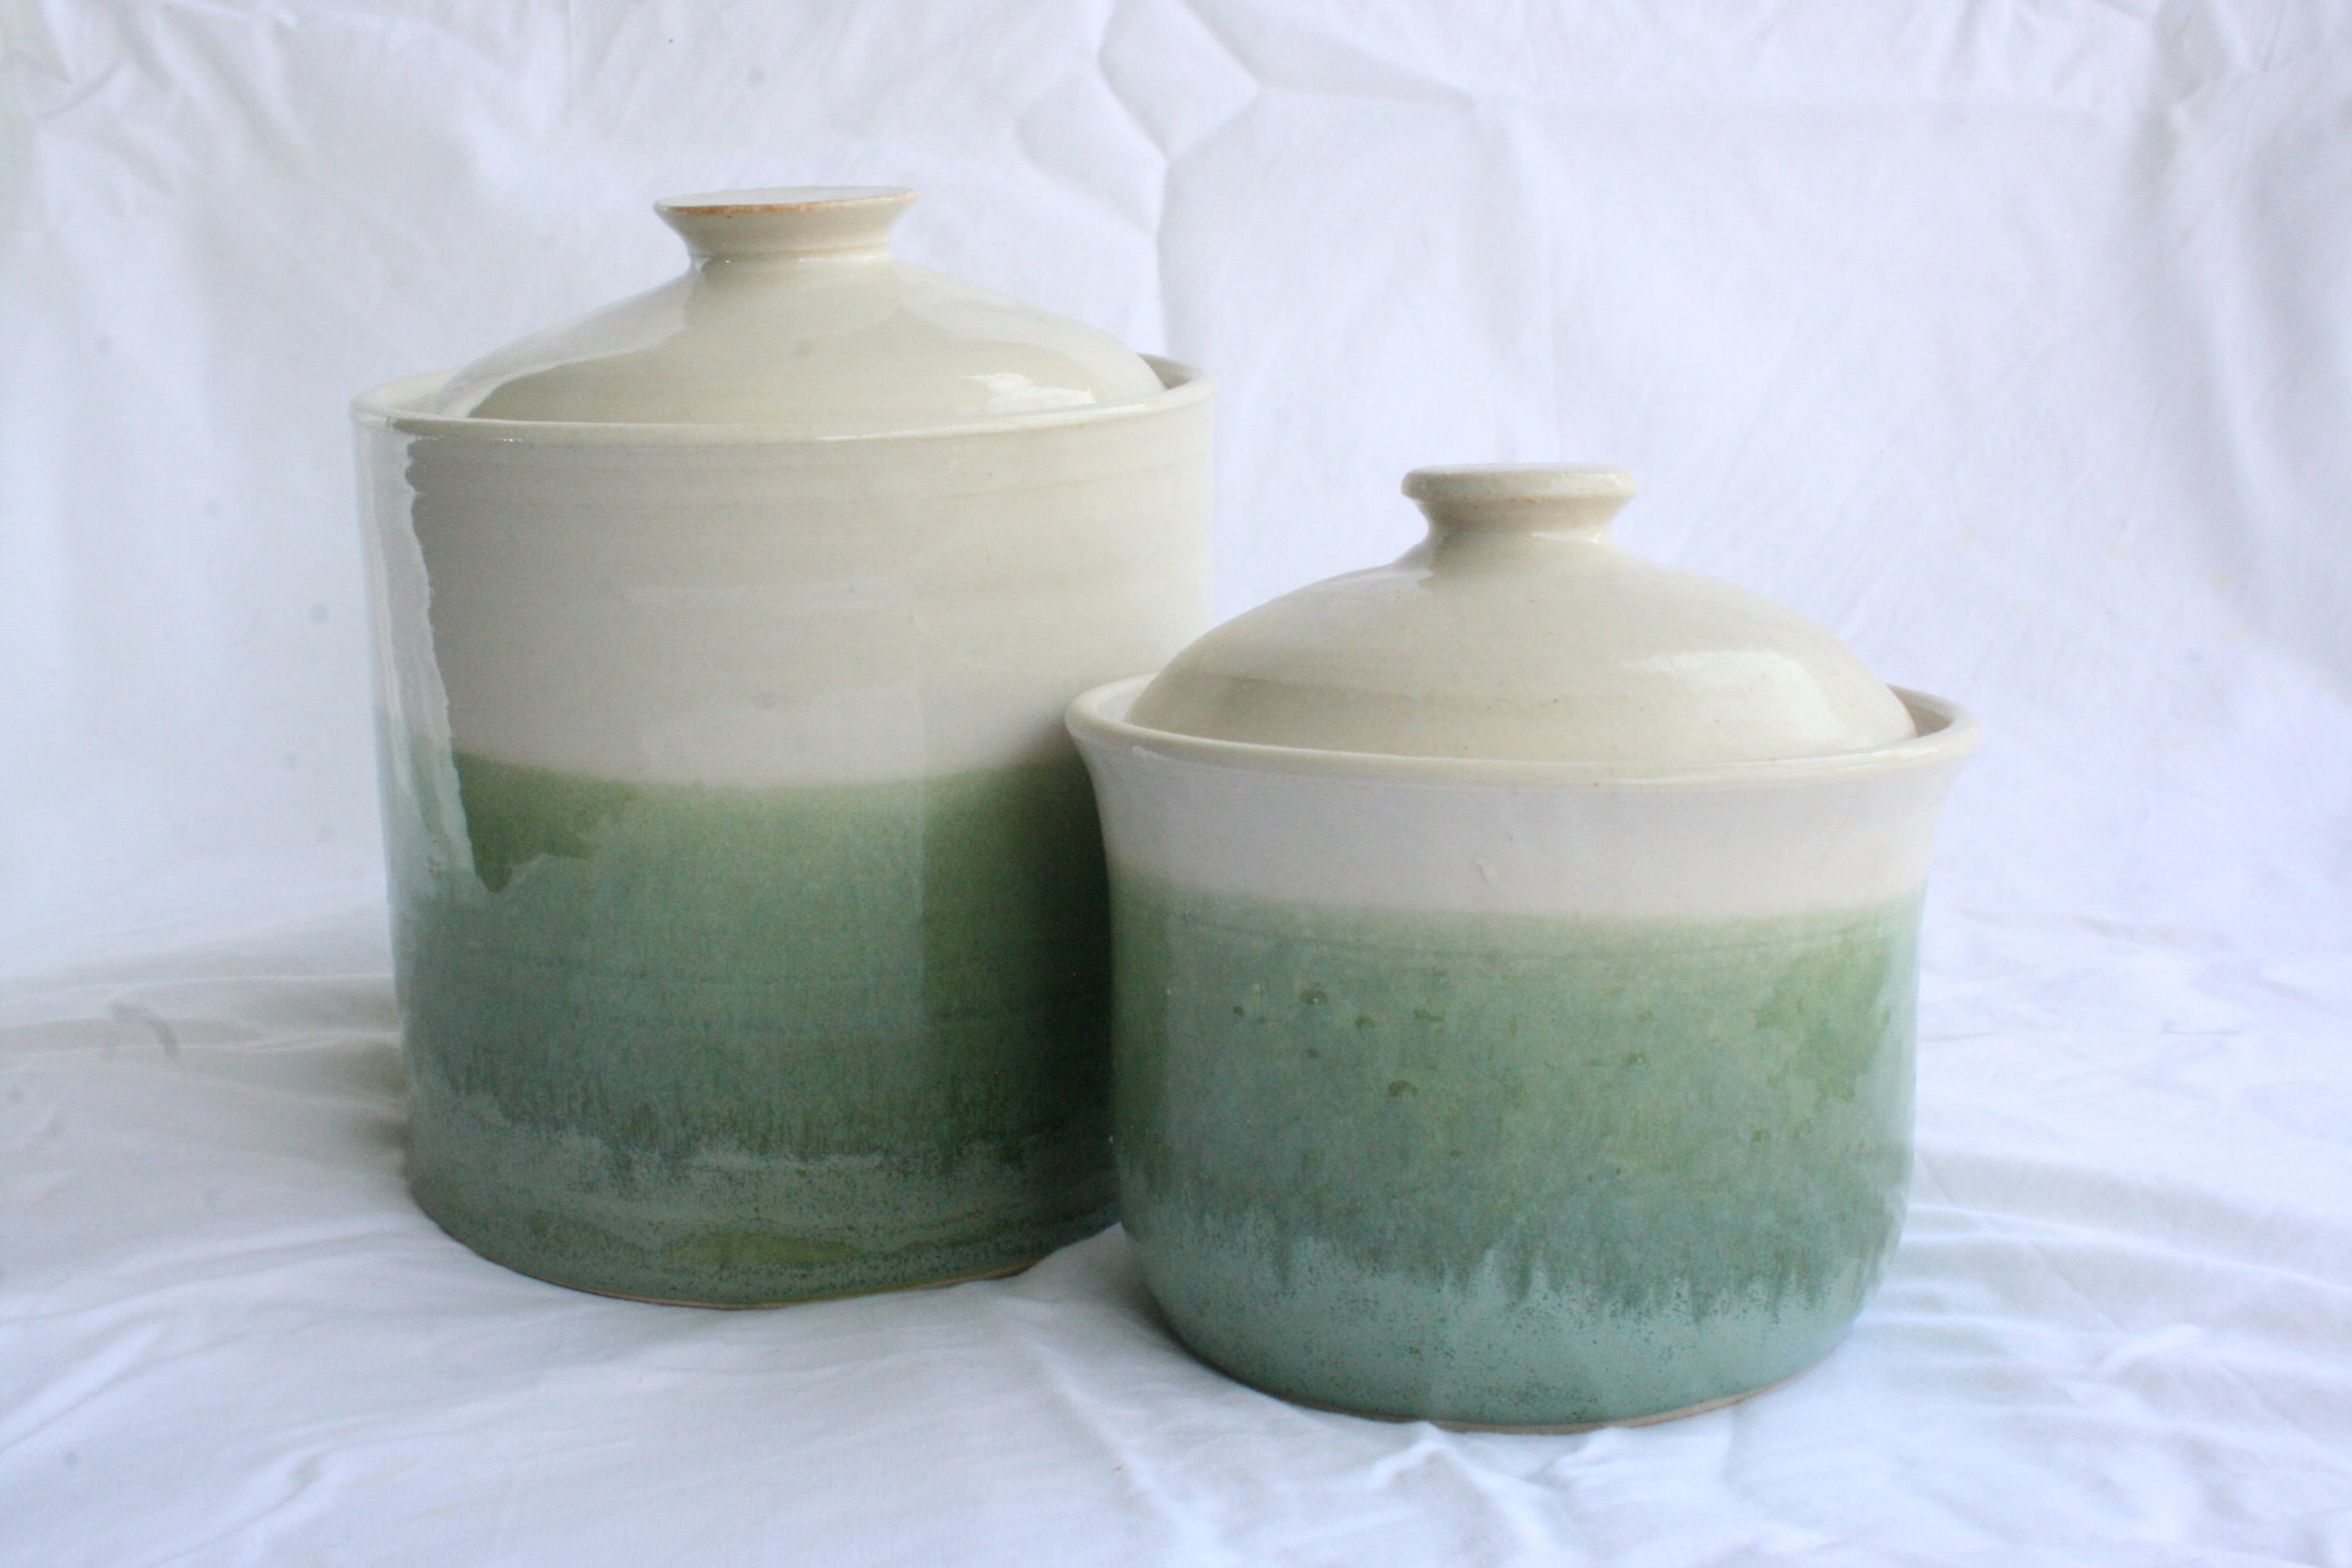
- Ferment in glass, not plastic – that ensures that nothing will leech into your blends. When fermenting, gases are produced, so explosions are possible if lidded…don’t forget to open daily to make sure they don’t blow! Or, use a fermenting jar – they have a deep lip you can pour water into to create a pressure-free water lock.
So what are you waiting for? Pick a fermentable and get started! Let me know how it goes 🙂 If you’re looking for a probiotic supplement, check out this review for more info!